Hi Crafty friends!
Today, I’m a part of HEFFY doodle x Chibitronics Collaboration Blog Hop!!!!
HEFFY doodle is giving away a £50 gift certificate to one lucky commenter and Chibitronics is giving away a starter kit to another one luck commenter!
So hop along with us and be prepared for lots of inspiration!
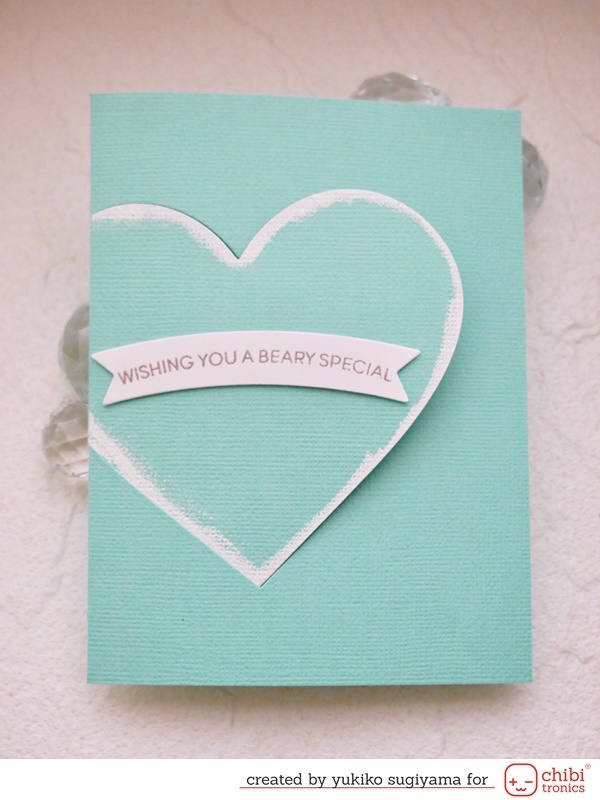
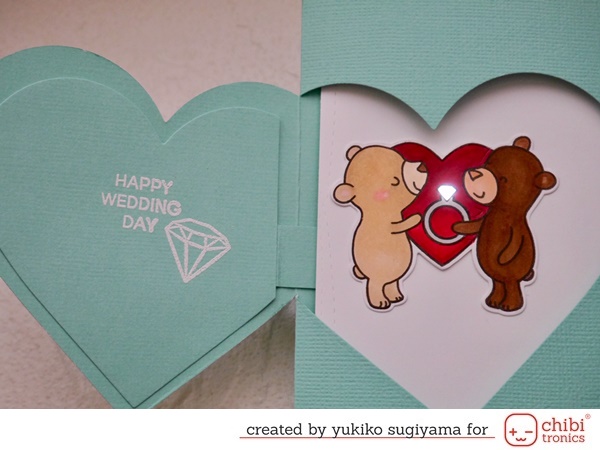
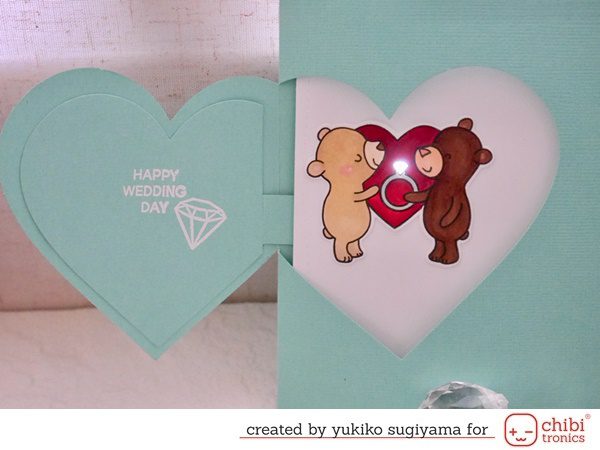
My Card for the Blog Hop is Hinged Heart Wedding Card.
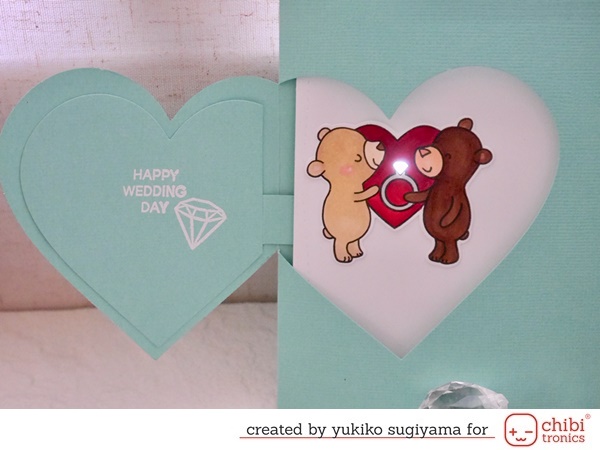
I used one of my favorite technique Partial Die Cutting a lot in this card.
Also I got this idea from Eiko’s Tutorial, please check this out!
https://eikenlabo.blogspot.com/2018/07/how-to-make-light-up-yellow-submarine.html
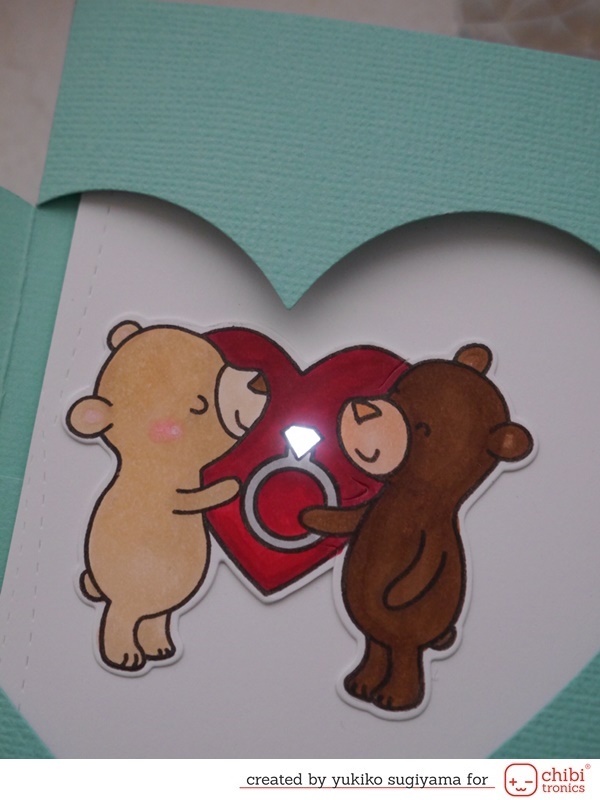
When you open the heart part or you just open the card, then the couple bear’s engagement ring light up!
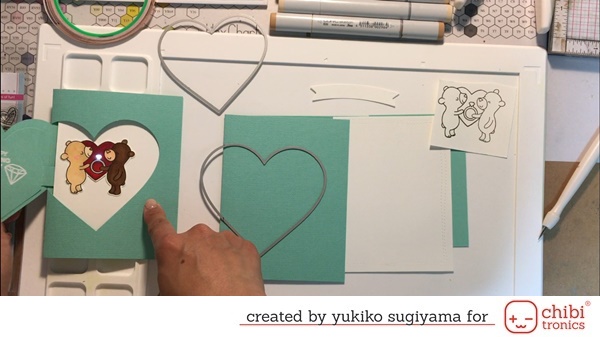
Preparation:
Aqua Base Cardstock
Aqua 4″×5.25” Cardstock
White 4″×5.25″ Cardstock
Small Heart sized Aqua Cardstock
Some left over Aqua Cardstock
White Banner
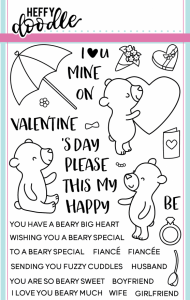
And stamped bears
When you cut hinged heart parts, you need to use the partial die cutting technique.
I use cuttlebug for my die cutting machine, so the plates will be like this.
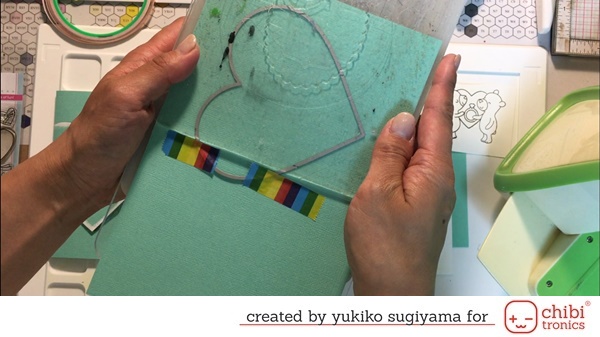
Normally you need to put 3 plates and die will be in between of the 2 transparent plates.
But this time you need to off set not to cut the back panel.
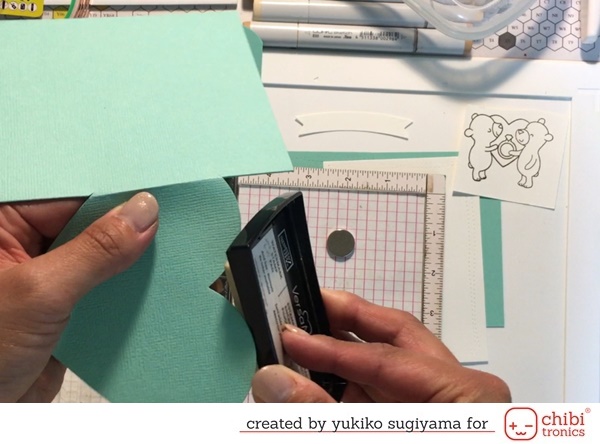
Making the heart really simple, so I added to some versa mark around the heart and heat embossed with white.
And colored couple bear. This couple bear also needs to be cut either hand cut or I used partial die cutting .
And cut out the diamond part. Mark White and Aqua Panel where the diamond to be.
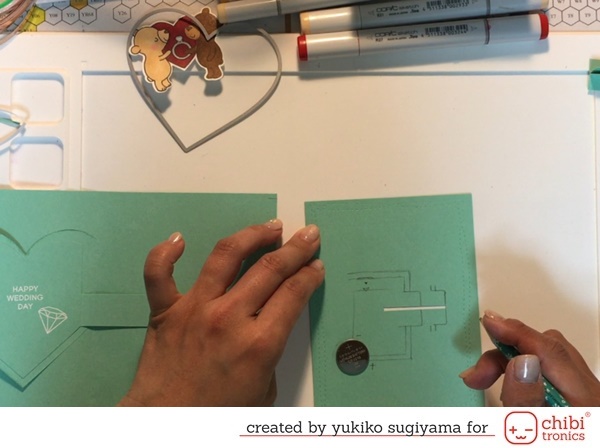
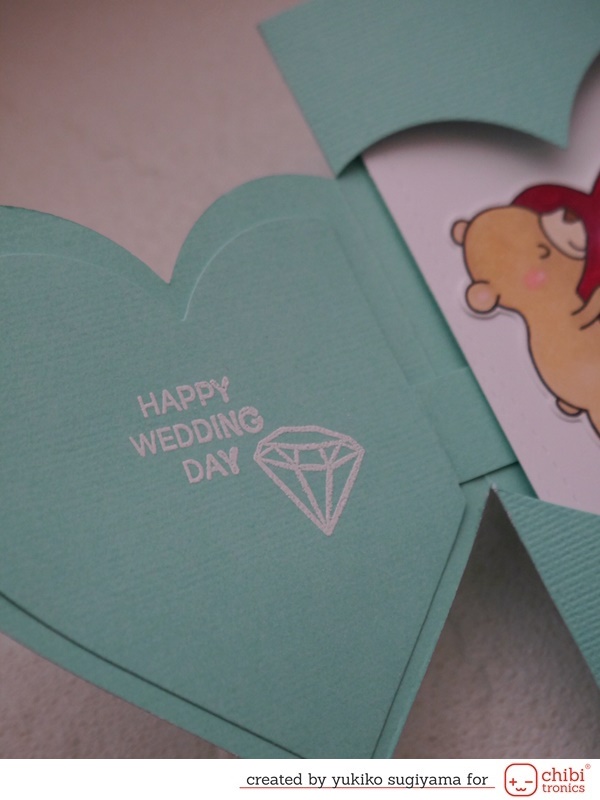
Made a little smaller heart that will be the back of hinged heart and stamped sentment and diamond, then heat embossed with white.
Now you need to make pull tab part.
Put white strip under the smaller heart. Mark the strip line when the heart was closed and opened.
(In the picture above, Right Line; when closed, Left Line; when opened.)
And make narrow cut like the picture above to make a slit.
Then draw circuit to make sure when it is opened, the circuit is completed.
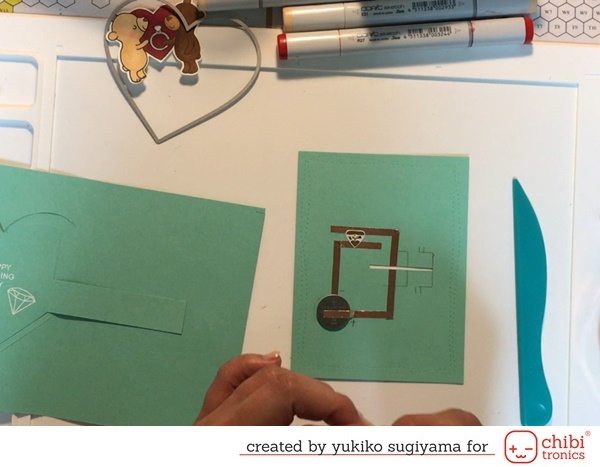
Then make switch part and connect to the pull tab.
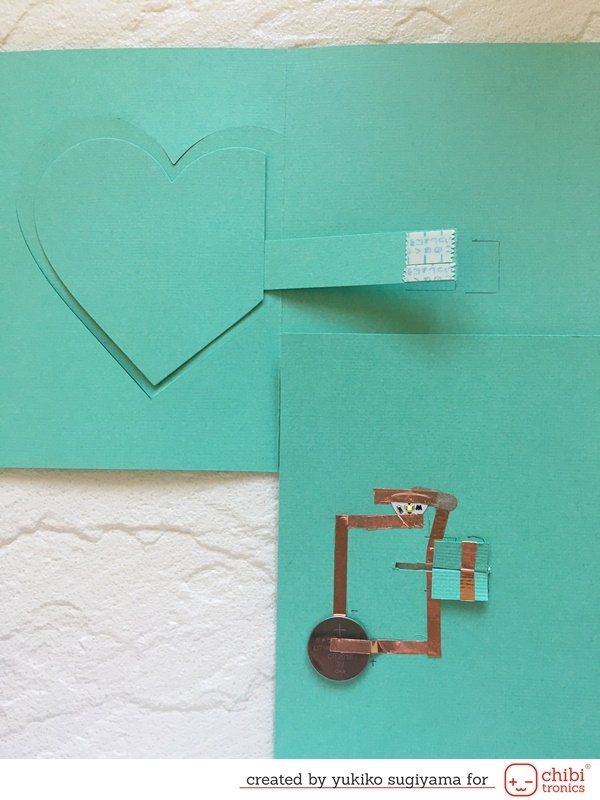
So sorry for the bad video, but maybe it’s better than my explanation!
https://www.youtube.com/watch?v=S9dXYSbaOVw&t=4s
If you accomplish making these circuit, then finish up putting all together.
You can put this aqua panel with circuit onto the back panel with normal double sided tape.
Then when you put white cardstock on top of this circuit, I used thin foam tape.
I think when you use pull tab type switch, you better stick them together and make not lots of room for moving around.
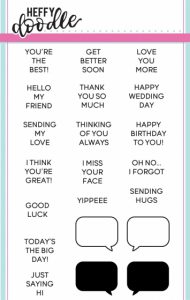
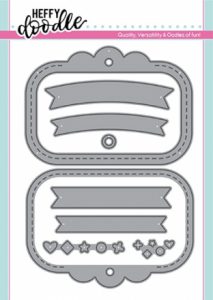
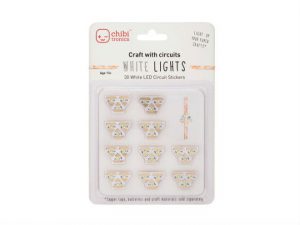
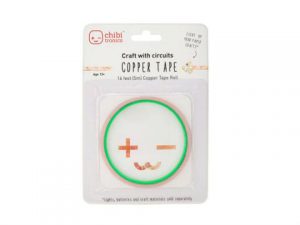
Supplies that I used is below;
Hop along with these super talented ladies!
Hop List:
Yukiko Sugiyama ←You are here!
And make sure to comment!
Happy Crafting!

This is such a cute card. 🙂
Great idea for the circuit!
How sweet that is!!!!!!
Oh my stars!! Woot Woot! Such a darling scene! Great idea for a light-up scene! 😘😘😘 I love this so much.
Absolutely adorable card! I love the light up ring and the sweet bears!
Oh my, this is so perfect for a young couple getting married. I love the overall look of simplicity but you’ve really got a lot going on. Thanks for the pictures showing how you made this card.
I got a two-fer. Love the design of the card. the opening
for the heart is a funtastic idea. The lighting is just
another great addition to make a wonderful card.
thanks for sharing
txmlhl(at)yahoo(dot)com
What a cool idea for a card.
Absolutely love this, you have inspired me!
Sweet wedding card design with these bears.
Wow such a wonderful card!
This is fabulous, lovely choice of stamps and genius placement of lights.
Seriously love this design-having the ring light up was a great idea!! Tfs!
wow what a great idea for a lighting ring – thanks for the ideas:)
This is amazing! I Love how you open the heart and it lights up! GORGEOUS!
Awww! How cute!!! Love it!!!